My new chromebook – a review

I’ve been without a laptop for a while now – and have been doing a lot of thinking about what to get.

My previous machine was a mac – and  I loved it.  Out and out loved it.  I loved the Operating System, the reliability, the freedom from viruses, the quality of the build – I got 6 years good work out of it.

I didn’t love the price.  It would cost me about €1,200 to get a mac now.  As a teacher for whom the economic crisis is still in full swing, well, I can’t justify spending that kind of money on a laptop.

At school I’ve worked with PCs for years.  And they have their good points.  The MS suite is powerful, there is a huge choice of hardware – across a large price range.  There are also the downsides – regular downtime for updates, needing third-party anti-virus software, cheaper machines can be really slow to boot, old machines get unreliable.

So when I went shopping I wanted a machine I could use and be reasonably cheap.

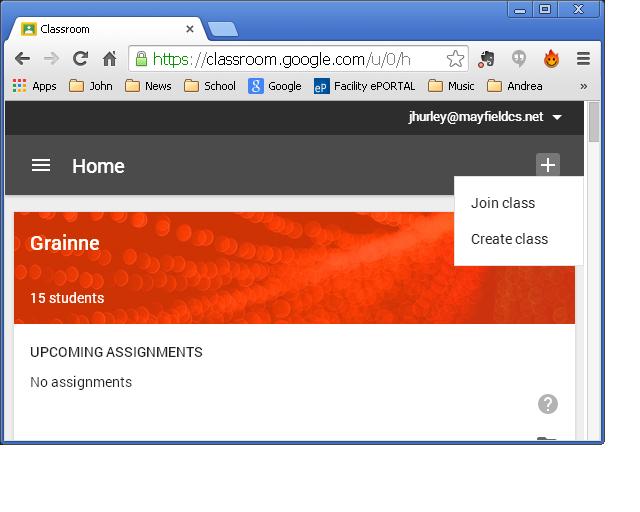
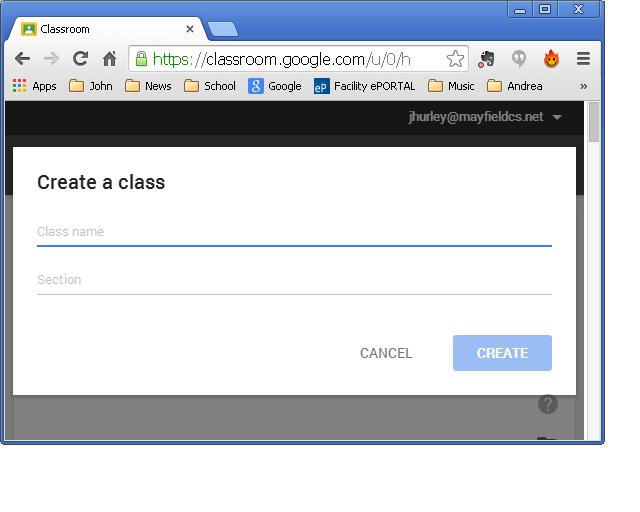
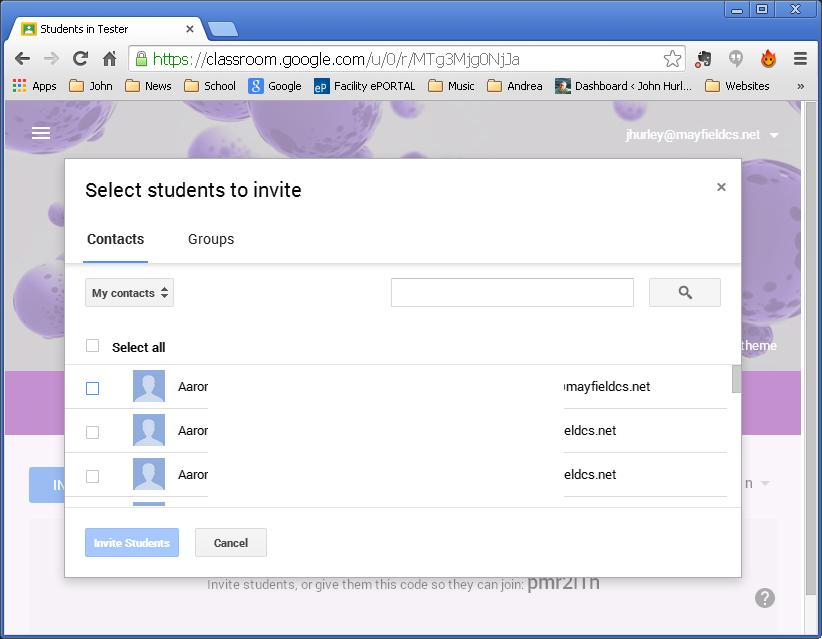
And so I came to check out Chromebooks. As the administrator of Google Apps for Education in our school, I’m already very comfortable in the Google ecosystem, but it was still a bit of a gamble for me.  I’ve never used the chromebook previously – and I don’t get to see too many of them around.

So I went with the machine I’m using now.  A Toshiba Chromebook 2.  And the price was amazing.  I got it for €279 in Argos.

cb2The build Quality

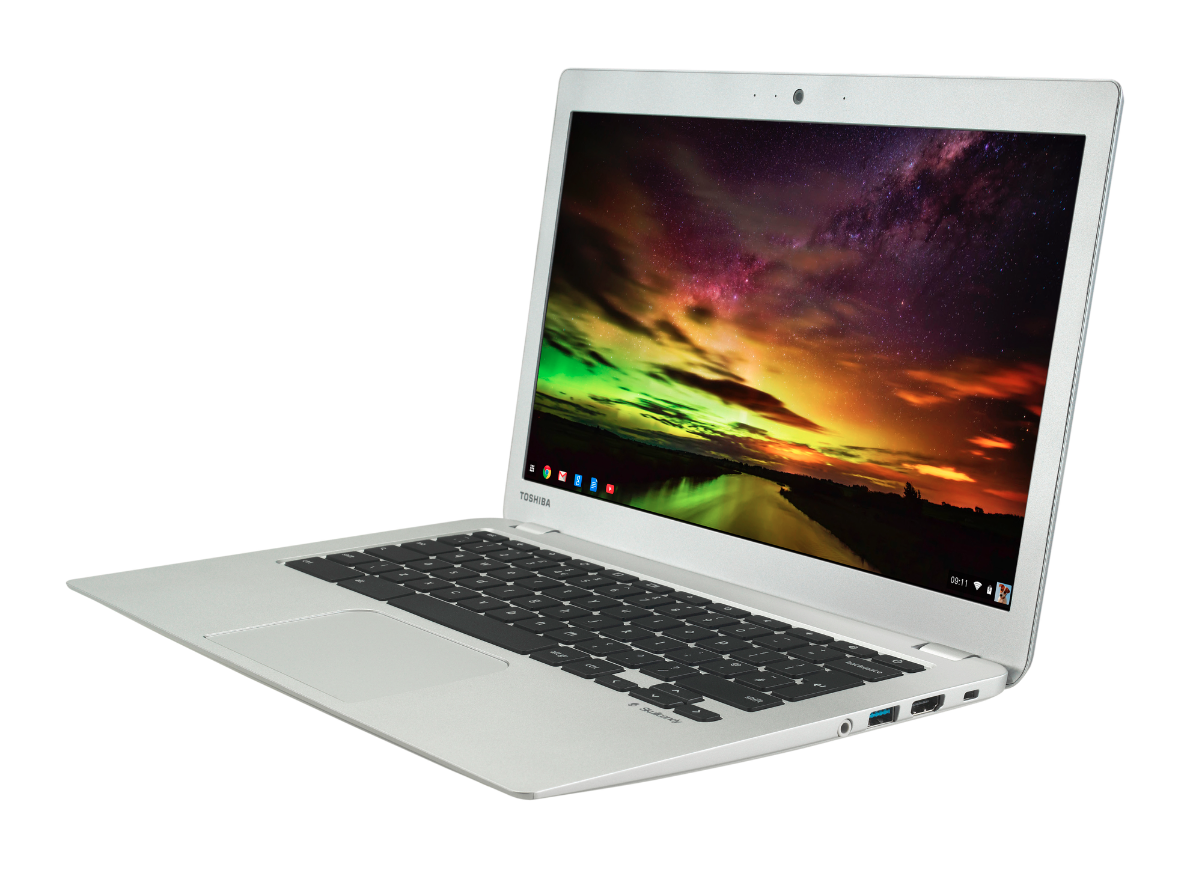
The laptop has a 13.3″ screen.  So you’re talking about a full-sized laptop here.  The downside is that the screen doesn’t have the same punch as a more expensive machine, but it works perfectly well for my purposes.  And if I want to watch a film – there’s always Chromecast.

The machine is very plastic – and not the expensive stuff.  I suspect that in a year of heavy use I can expect to see some of the silver begin to fade from the edges.   Again, this is a fully functional machine for €279

The keyboard is very nice to use, and after a day of getting used to it, the trackpad seems to be very reliable and easy to use.

Storage is very limited.  There were 2 models of the Chromebook 2.  One has a HD screen, 4 Gb ram and (I think) 32 Gb of storage.  The option available in Ireland has an SD screen, 2 Gb ram and 16 Gb storage.  And that’s the one I have.

The 16 Gb hasn’t been an issue as my school Google account has unlimited storage (yup) and the Chromebook links to it seamlessly.

The Battery is very impressive.  I’m getting 8-10 hours from a single charge.  In practice this means that I can bring it to work for 2 days and not worry about the charger.

The Operating System

The first time I turned on the computer I thought I was in for a disappointment – it took over an hour to get going.  Eventually I contacted Google customer support and they rang me back within 60 seconds of my submitting my form.  A real person phoned me!

Anyway – the delay was an update being applied – and I’ve had no problem since.
The Chromebook is INCREDIBLY fast to start.  A cold start to the login screen is about 8 seconds.  Once you get your password in, it takes about 12 more seconds to be ready to work.

Google say that they take care of virus protection and updates.  The upshot of this is that I have sometimes noticed a little notification to remind me to restart in order to finish an update.  But the update is done in seconds.

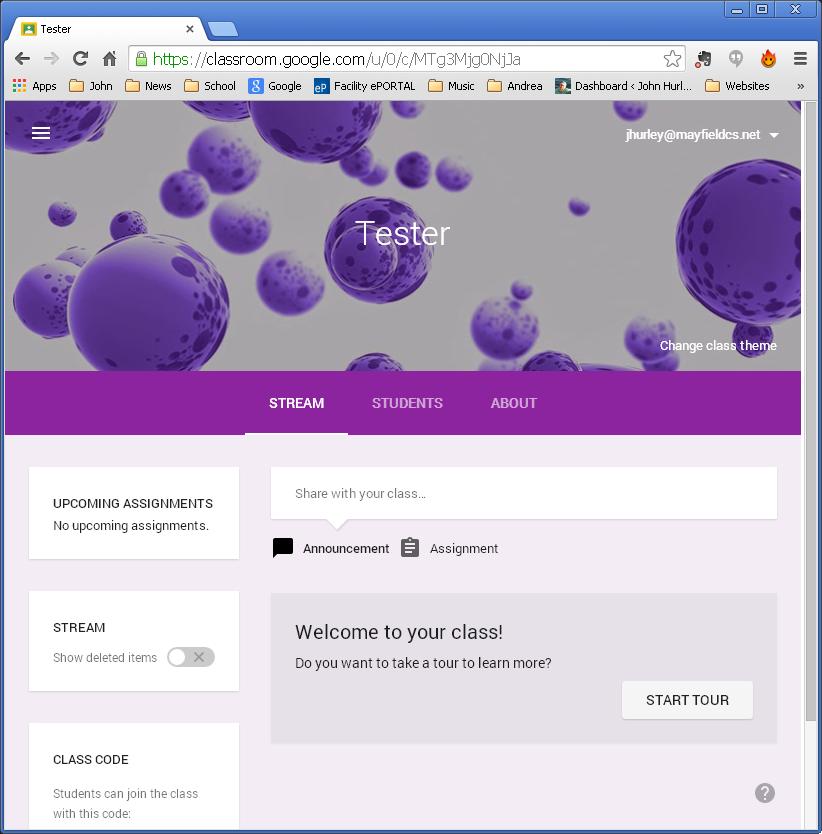
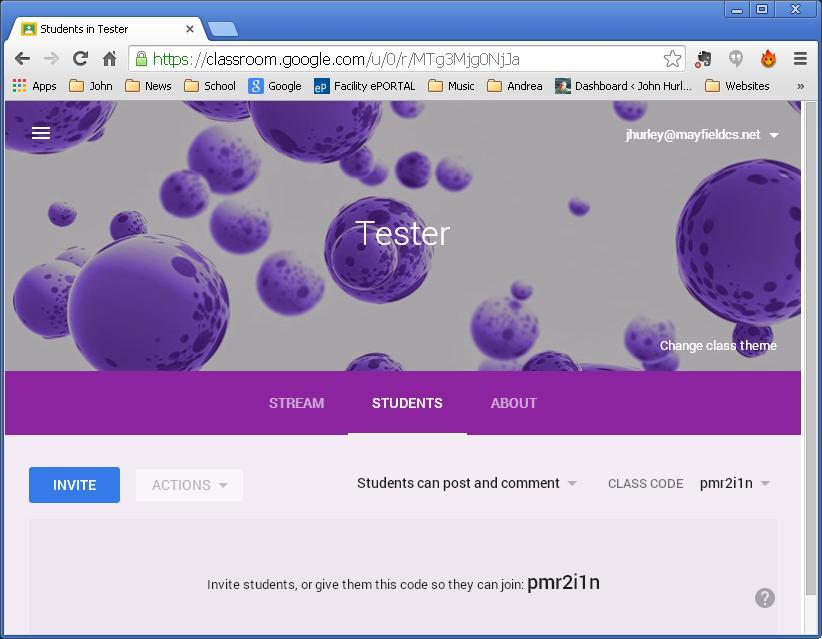
The system itself circles around the Chrome browser.  And it’s a dinger.

I’m typing with 7 different tabs working at the moment.  2 different mail accounts, 2 different Drive accounts, tweetdeck, a search window, and wordpress.  There is no lag that I can see.  I have also worked with netflix chromecasting to the TV, with my kids watching a film, and me able to work on the same machine.

Pretty impressive.

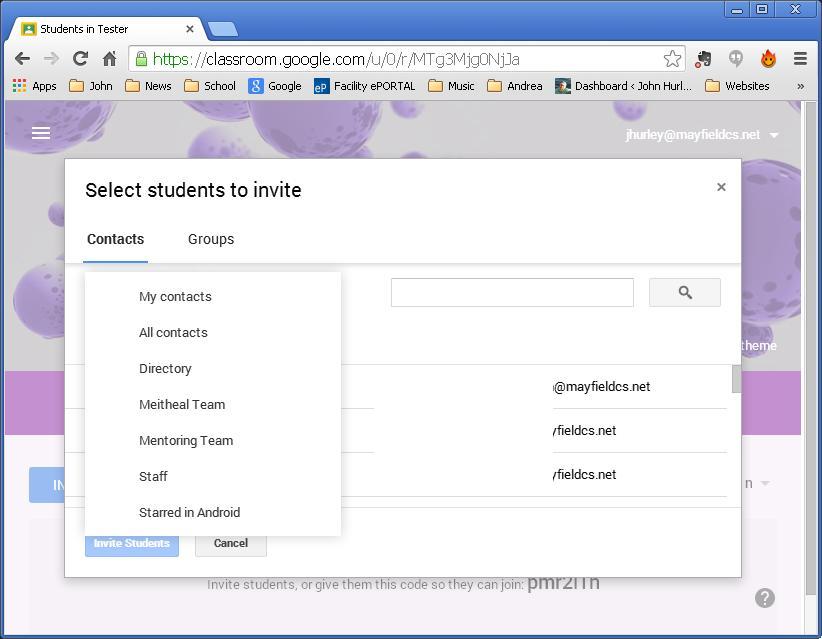
There are a number of apps available on the Chromestore.  At the moment I have evernote, tweetdeck and a range of Google apps running.

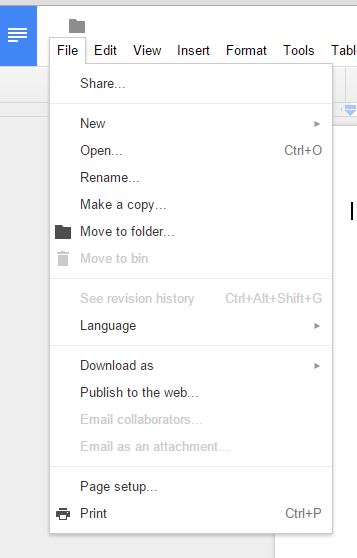
Obviously Google Docs are very easy to work on this.  Plenty of options available – but some features that you may like in the MS suite are just not available here.

Some bits they don’t tell you about

There is no Caps Lock button.  That’s replaced by a search Icon that will open up a window showing you what apps you have available.  CAPS LOCK – is actually available press <alt> and the <search> buttons simultaneously.
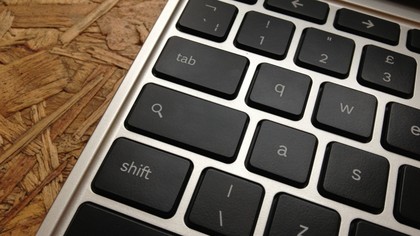
search buttonThe Search Button

There are no ‘Function’ keys.  In their place is a list of keys that can move forward and back between pages visited, refresh the browser, go full screen, show all screens in miniature, adjust brightness & sound.

Skype is not supported – so if you like that, then this isn’t the machine for you.  I haven’t yet used hangouts on this, so can’t report on that.

End Result?

I’ve had this machine for a month now – and I’m extremely happy.  It’s fast, it’s reliable and the price is incredible.  It has needed  me to embrace Google Apps fully – but I was already on that path, so no burden there.
A great buy.

Getting Started in Google Classroom

One of the tools available in the Google Apps For Education (GAFE) suite is Google classroom.  It gives the teacher the ability to set assignments, allows students to return assignments, and facilitates teachers’ engagement with students as they complete their assignments.

So.  How to get started with this?

If you are a teacher in a school / Institution using GAFE, then you need the administrator to register you as a ‘classroom-teacher’.

Next, go to classroom.google.com and sign in with your GAFE account

Once you are logged in, you will get a home page that will show all the classes you have created (but that’s a step or two later)

First, how to create a classgroup:

On your homescreen, near the top at the right hand side, you will see a + sign.  Click on this, and you should see a drop-down menu like the one here:

classroom1

Click on the ‘Create Class’ option.

That will give you this screen:

classroom 2

Give your shiny new class a name (and a section if you’re doing just one part of a course)

Once you click ‘Create’ you will be taken to this or a screen like it:

classroom 3

At this point you can take the (brief) tour offered at the bottom right-hand-side of the page, or you can dive in and add students to the class.

Here, you have two options:

  1. Give students the class code (listed at the bottom right of the page).  The students then log into their google account, go to classroom.google.com and type in the code.
  2. Invite students manually

To invite students manually, click on the ‘Students’ tab in the top centre part of the page.

Classroom 4

Click on the nice, blue ‘Invite’ button and you will get this option:

Classroom 5

The system will first give you the option of inviting students in your own contacts list.  This is actually limited unless you already have the students’ email address.  You need to click on the ‘My contacts’ button, and then click on ‘Directory’.  This will give you the directory of all the users with an account in your school (domain)

Classroom 6

The hard part now is to actually add students from the directory in the most economical way possible!

Here’s what works for me:

  1. Have your roll handy
  2. Type the first name of a student into the search box
  3. You will be shown all the students with that first name
  4. Tick the check-box beside his/her name
  5. Once his/her name appears in the box below, type in the name of the next student
  6. Repeat until you have all your students included
  7. At this point click on the ‘Invite Students’ button
  8. The students will now receive an email inviting them to join your class group
  9. They need to click the longer link in the email.
  10. This will bring them to their classroom account, and they will then need to accept your invitation.

Classroom 7


There are extra options at this point.  You can click on the ‘About’ button for your class group to set more information (your choice!)

Classroom 8

Good luck!

If you are already using Classroom and have tips, ideas or more suggestions – I’d love to hear them!

Related Posts:

Sharing Documents in Google Drive

Getting Started in Google Drive

Google in School

7 Ways to use Google Classroom

Sharing Documents in Google Drive

(I’m building a Google site in our school domain to put together a series of ‘how-to’ pages to help students & staff figure things out.  Here’s the latest offering, hope it helps someone!)


Once you know how to create documents, it’s a good idea to know how to share information.

For example, you may be part of a group working on a project.  Drive makes it very easy to share whatever document you are working on.

First Method for Sharing:

Let’s take the document we created earlier as an example.  Remember, it looks like this:

Open a document for yourself.

Notice that at the top right hand side of the document there is a blue button labelled ‘Share’.
Click on this.
You will then see a pop up screen that looks like this:

Type the email address of whoever you want to share the document with.  Make sure you have the right email addresses!

If you have accidentally clicked on the sharing button click ‘Done’, and you will exit this screen.

Once you have the names you want to share with, you can choose to add a note.

Click the ‘Done‘ button at the bottom of the pop-up window and that’s it.  You have now shared the document with your group.

It will appear in their Drive folder.

Second Method for Sharing

In your Drive folder, look at the list of documents you have.

Click once on the document you want to share.

You will notice that the menu bar on your screen now has a few new options.  They look like this:

Click on the icon that looks like a person with a + sign on their shoulder.

You will then get the sharing screen that you saw in Method 1

Follow the same instructions, and you have managed to share!

How Do I See Something Shared With Me?

Open your Drive folder.  At the left hand side you will see a tab labelled ‘Incoming’ (in the ‘New Drive’.  In the older version of drive, it’s called ‘Shared With Me’

Click on this and it will show any documents shared with you.

Getting Started in Google Drive

I’ve written already about my school getting started with Google Apps for Education.

For a next step, I was thinking of what are basic skills that students need if they’re to make use of what’s on offer.  So I put this together to give students (and staff?) an idea of how to get started.  Is there anything I’m missing in this step?

When you sign into your Google Account you will see at the top right hand side of the screen the apps menu.  Click on the icon that looks like a grid.

apps toolbar


You will then see this drop down menu:

apps toolbar 2

Click on the Drive icon.  If you are using Chrome then Drive will open in a new tab.  Not sure about other browsers.

Once Drive is open, it’s time to learn how to create a document.

menu

At the right hand side of the screen, you will see the shiny red ‘New’ button.  Click on this.

menu 2

Once you get the drop-down menu, click on the option ‘Google Docs’

Again, if you’re using Chrome, a new tab will open.  This is your new document.  At the right hand side of the screen, click on ‘File’ and rename the document.

rename file


This will give you a small window where you can give the document a new name:

rename file 2

Once you have renamed the document, learn how to put in text, and format your work.

sample document


To create a table, simply point your mouse to the ‘Table’ heading in the toolbar and use the drop down options:

make a table

As with most computing skills, the only real way to learn this stuff is to try it out.  You can see the table I chose is 6 columns across by 4 rows down.  Simple to add!

Go on.  Give it a try.


Google in school

This year we decided to take on a new project in school – adapting Google Apps for Education.

Wha?

It works like this.  Google offer schools the facility to have a corporate email structure with cloud storage, shared calendars, internal websites and other bits & pieces.  And, if you’re a school, the cost is free.  Obviously, this is a big plus for any school – I don’t know of any that complain of having too many resources.

And what’s on offer?

  • Each user gets a gmail account (for us, student@mayfieldcs.net)
  • Create groups so that you can share resources or email them.
  • Each account comes with 30GB of cloud storage via Google Drive
  • Each account comes with Google docs (the ability to create documents, spreadsheets, presentations, forms)
  • Google Classroom (it’s new & I haven’t figured out its potential or pitfalls yet)
  • Google Sites (the ability to create websites internally or viewable externally)

So.  How do you actually tap into this resource?

If you go to this link, you can apply to Google to take on their Apps for Education suite.

Step 1 was to get registered.  This can be done using the existing domain for the school.  Google can then move your email to a gmail account.  The alternative is to create a new domain, but you need to jump through an extra hoop or two while Google verifies that you are acting on behalf of your school.

Step 2 is to get accounts set up within the school.  If you have a lot of students then what you do is to get the names of the students on a CSV file and allocate them all email identities and passwords.  This does take a bit of time – but that’s nothing compared to step 3

Step 3: take students to the computer room and get them all to open up their accounts.  this is best described as bedlam.  Chaos is a good alternative word at this point.

Step 4: get students to accomplish basic tasks such as opening drive, creating a document, or uploading files and sending an email.

Step 5: email the group you just signed up giving them instructions on how to add their account to their phone/tablet. (they like this bit)

A few teachers have started using the Classroom app, and seem to be happy with the ability to email notes and assignments to groups of students.

It’s early days yet, but there’s a lot of potential.

There’s a lot o resources out there from people who are a lot more experienced than I – but hopefully this will help someone get a start!